Follow the steps to open a file
from section Opening a file.
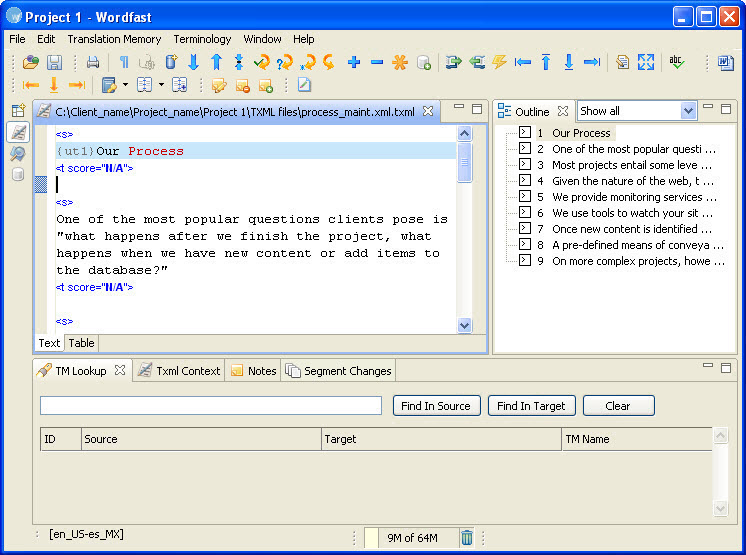
The file appears in the Translation window. The first translatable
segment will appear in a blue background, and your cursor will be in the
target segment by default. Go to Enabling
translation options for information on enabling and disabling different
translation options.

Note: The tags in the source segment are marked in grey. For
example, {ut1}. These tags should be either copied and pasted or typed
into the target segment. They should not be edited or deleted.
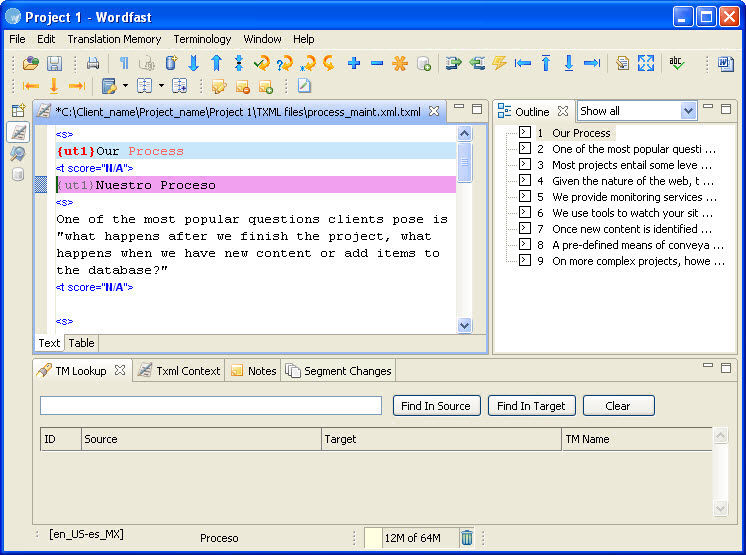
Type the target segment.
The typed target segment will appear in a pink background as shown
in the screenshot below.

Select Translation
Memory > Next Segment or click  or press Alt+Down.
The typed target segment is saved to the TM and the cursor moves to
the next segment.
Note: If you need help creating or opening a TM, go to Creating
or opening a TM. To update translation memory with new content, ensure
the TM has the Read only check
box clear and update options are selected. Go to Selecting
translation memory settings for more information.
Also note that, the TM will not be leveraged or updated if you press
the Enter or Tab
keys or if you click into another segment in the Translation window or
the Outline window.
After translating all the source
segments, select Translation Memory >
Commit to TM or click  or press Alt+End,
to update the TM before closing the file.