Create a Project

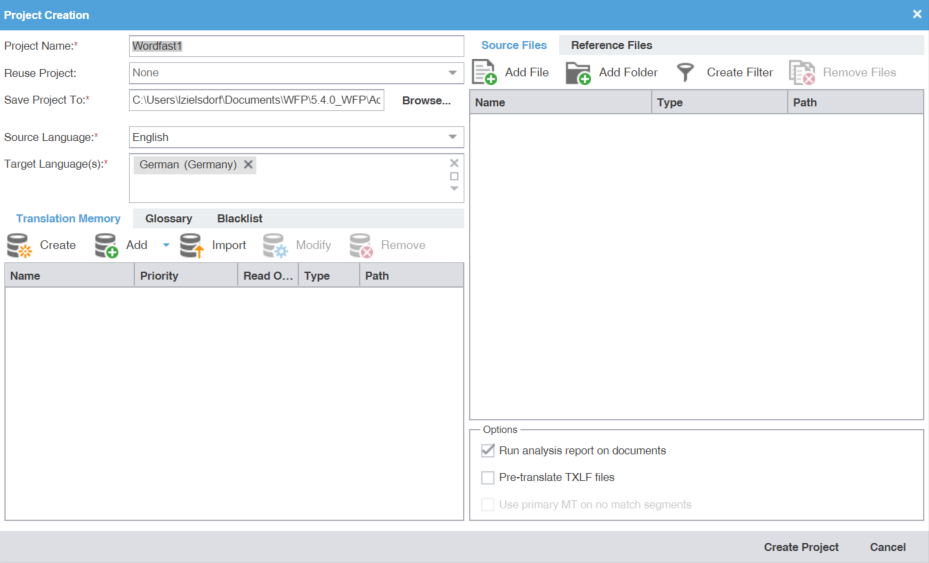
In Wordfast Pro, every translation begins with a project. Projects act as repositories for all related content, along with associated translation memories (TMs) and glossaries.

  Alert:

You must create a project before you begin translation, unless you use the Open TXLF action.

  Note:

A project also requires file format filters to convert the source content into segments prior to beginning the translation process.

To create a project:

  1. On the Projects tab, click Create Project.
  2. On the Project Creation dialog, enter a project name.

    Required fields are marked with a red asterisk.

  3. (Optional) If you want to reuse the profile of a previously created local project, select it from the Reuse Project drop-down list.
      Note:

    Project reuse removes all existing translation memories, glossaries, and blacklists from the new project. On the Reuse Project Warning dialog, click Yes to agree to reuse the project.

  4. Enter the Save Project To location or click Browse... to select the location for your project.
  5. Select Source Language and Target Language(s) from the drop-down lists.
      Best Practice:

    You can refine the source language and target language drop-down list results by starting to type a language name.

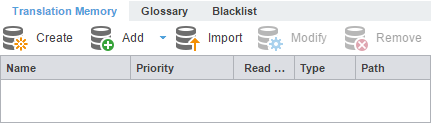
  6. In the Editor pane, click the Translation Memory tab, if it is not already active.
  7. (Optional) Click Create to add a new local TM for your project.
    1. On the Create TM dialog, enter a unique name for the TM.
    2. Select a target language to create a language pair, then select the location for the TM on your local disk.
    3. Select either primary or secondary priority from the drop-down list to determine the TM you leverage first.
        Note:

      You can select only one TM as the primary. The primary status dictates that the content of that TM overrides any content in secondary TMs.

    4. (Optional) To prevent any edits to the TM, select Read-only.
    5. Click OK.
  8. (Optional) To add an existing TM to your project, click Add, then select a local, remote, or a project-specific TM from the drop-down menu.
      Best Practice:

    To use a free online tool for work and production that integrates with Wordfast Pro, use Wordfast Anywhere (WFA) as your remote, unlimited, and private TM.

    1. Local — Select a location on your local disk.
    2. Add Remote — Enter the TM Server or WF Server or WFA Server details on the Connect to Remote TM dialog. Refer to Connect to a Remote TM.
    3. Add Project TMs — Enter the details on the Add Project TMs dialog by selecting the project.
        Note:

      The source language, target languages, and list of TMs auto-populate, based on the project you select. Remove the target languages or TMs that you do not want to import from the target languages and list of TM fields.

  9. (Optional) To import an existing TM to your project, click Import.
    1. On the Import Translation Memory dialog, select the import File Type: TMX or WF TXT TM format from the File Type drop-down list.
    2. Click Browse to locate and select the project file that contains the TM that you want to import.
    3. Select either the Create a new TM or Import into existing TM option. Refer to Import a Local TM.
    4. If the TU already exists, select an overwrite option from the drop-down list.
    5. Select Clear before import if you want to ensure the import overwrites a clean TM.
    6. Click OK.
  10. (Optional) To edit an existing TM in your project, click Modify.
    1. On the Modify Local Translation Memory dialog, modify the name of the TM or its priority.
    2. Select whether you want to protect the TM as read-only.
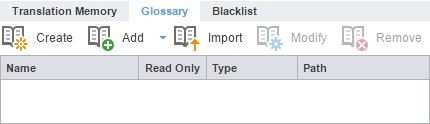
  11. (Optional) In the Editor pane, click the Glossary tab.
  12. (Optional) Click Create to add a new local glossary for your project.
    1. On the Create Glossary dialog, enter a unique name for the glossary.
    2. Select a target language from the drop-down list, then select the location for the glossary on your local disk.
    3. Select either primary or secondary priority from the drop-down list to determine the glossary you leverage first.
        Note:

      You can select only one TM as the primary. The primary status dictates that the content of that glossary overrides any content in secondary glossaries.

    4. If you want to prevent any edits to the glossary, select Read-only.
    5. Click OK.
  13. (Optional) To add an existing glossary to your project, click Add, then select a local, remote, or a project-specific glossary from the drop-down list.
    1. Local — Select a location on your local disk.
    2. Add Remote — Enter the TMGR Server or WF Server or WFA Server details on the Connect to Remote Glossary dialog. Refer to Connect To a Remote Glossary.
    3. Add Project Glossary — Enter the details on the Add Project Glossary dialog by selecting the project.
  14. (Optional) To import an existing glossary to your project, click Import.
    1. On the Import Glossary dialog, select the import File Type: TBX or Tab delimited.
    2. Click Browse to locate and select the project file that contains the glossaries that you want to import.
    3. To configure a glossary creation option, select either the Create a new glossary or Import into existing glossary. Refer to Import a Local Glossary.
    4. Select an overwrite option for preexisting terms.
    5. Select Clear before import if you want to ensure the import overwrites a clean glossary.
    6. Click OK.
  15. (Optional) In the Editor pane, click the Blacklist tab.
  16. (Optional) Click Create to create a new local blacklist for your project.
    1. On the Create Blacklist dialog, enter a unique name for the blacklist.
    2. Select a target language for the blacklist, then select the location for the blacklist on your local disk.
    3. If you want to prevent any edits to the blacklist, select Read-only.
    4. Click OK.
  17. (Optional) To add an existing blacklist to your project, click Add, then select a local or remote blacklist from the drop-down list.
    1. Local — Select a location on your local disk.
    2. Add Remote — Enter the details on the Connect to Remote Blacklist dialog. Refer to Connect to a Remote Blacklist.
  18. (Optional) To import an existing blacklist to your project, click Import.
    1. On the Import Blacklist dialog, select the import File Type: TXT.
    2. Click Browse to locate and select the project file that contains the blacklist that you want to import.
    3. Select the blacklist creation option: Create a new blacklist or Import into existing blacklist. Refer to Import a Local Blacklist
    4. Select an overwrite option for preexisting terms.
    5. Select Clear before import if you want to ensure the import overwrites a clean blacklist.
    6. Click OK.
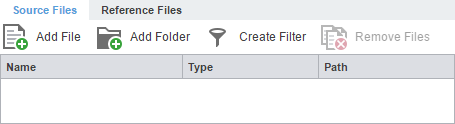
  19. On the Source Files tab, choose a method to add project source files.
      Note:

    You can drag-and-drop files from a folder to the Files panel.

      Note:

    To copy source files into the Source File folder within the Project folder on your computer, select Copy Source Files into Source Folder in your General Preferences.

    1. (Optional) Add File — Click to browse to the source file.
    2. (Optional) Add Folder — Click to browse to the folder location for source files.
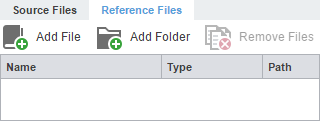
  20. (Optional) On the Reference Files tab, choose a method to add supporting documentation.
    1. (Optional) Add File — Click to browse to the source file.
    2. (Optional) Add Folder — Click to browse to the folder location for source files.
  21. (Optional) Select any additional Options.

    Run analysis report on documents

    Analyzes source files against TMs and generates a report. You can also view this report on the Reports tab, after opening the project.

    Pre-translate TXLF files

    Populates TM leveraged segments when TXLF files are open.

    Use primary MT on no match segments

    Leverages primary machine translation (MT) when there are no matches with the local and remote TMs. This option is only available if you selected Pre-translate TXLF files.

  22. Click Create Project to analyze the files and display the project creation summary.
  23. (Optional) On the WordFast1 dialog, select Open created project.
  24. Click OK.

    The project is created.