Analysis

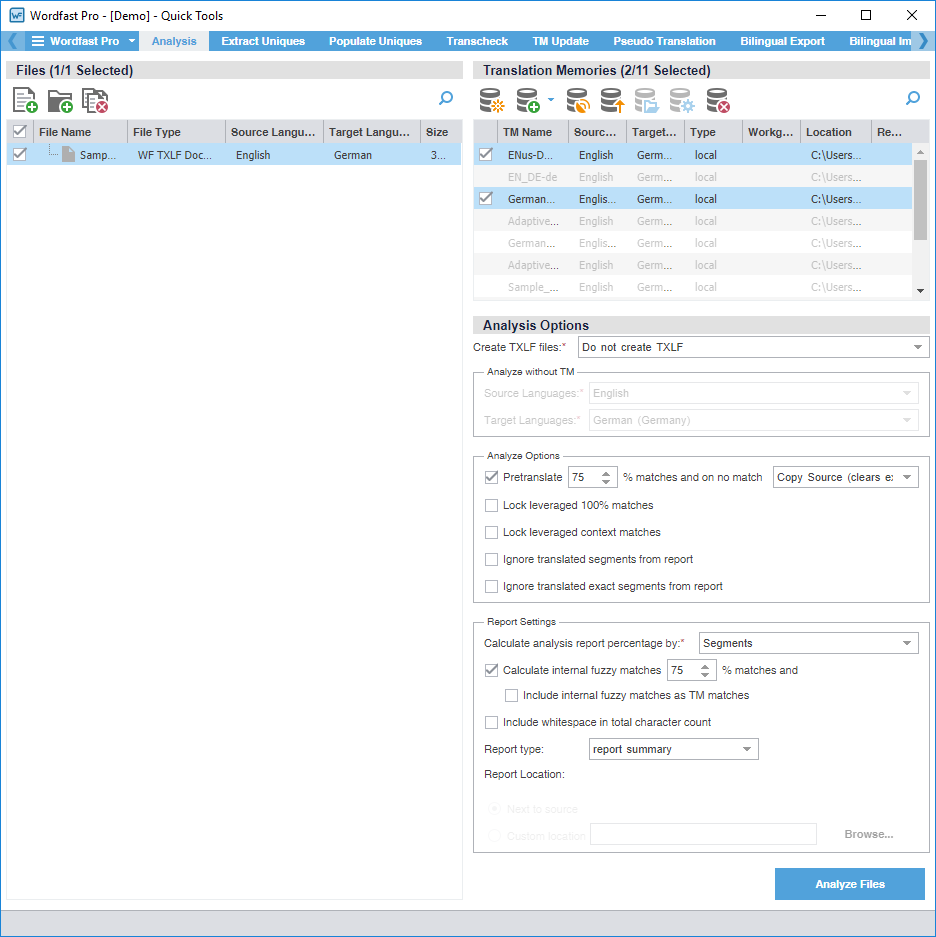
You can use actions on the Analysis tab to create TXLF files or assess potential translation memory (TM) matches and repetitions for selected source files.

Analyze without using the TM panel is a quick way to obtain the word count of the files before TM leveraging.

  Note:
  • When you first open Quick Tools, the default is the Analysis tab. Once you access Quick Tools, the default Quick Tools tab is the last one you used.

  • You do not need to select languages when using Analyze without a TM.

You can pre-translate target segments using your TM and machine translation on No Match. You can also select Maintain existing target (if present) to pre-translate only blank target segments and preserve any existing translations in TXLF target segments with no TM match.

To analyze files:

  1. Click the Wordfast Pro drop-down menu, then select Quick Tools.
  2. Click the Analysis tab, if it is not already selected.
  3. On the Files panel, choose one of the following actions:
      Note:

    To search the File Name column for a particular string, enter the search string in the available search field next to on the Files panel.

    Add Files

    Click to browse and select a file from a folder.

    Add Folder

    Click to browse and select a folder and all its files.

    Remove Files

    Click to remove a folder and all its files or all selected files from the list.

  4. (Optional) On the Translation Memories panel, select one or more TMs from the list of available TMs, then choose one of the following actions:
      Note:
    • To search the TM Name column for a particular string, enter the search string in the available search field next to on the Translation Memories panel.

    • If you do not select a TM, the analysis report displays the word count without TM leverage and the Language Selection option is not available.

    Item

    Action

    Create Local

    Click to open the Create TM dialog and create a local TM for quick, local access. Refer to Create a Local TM.

    Add Local TM

    Click, then select a local TM or a project TM from the project list from the drop-down list. Refer to Add a Local TM to a Project and Add Project TMs.

    Connect to Remote

    Click to open the Connect to Remote TM dialog and complete the appropriate information to connect to a remote TM for the project. Refer to Connect to a Remote Glossary.

    Import TM

    Click to open the Import Translation Memory dialog and complete the appropriate information to import a TM for the project. Refer to Import a Local TM.

    Open TM

    Click to open and edit the selected TM. Refer to Open and Edit a Local TM.

    Modify TM

    Depending on the TM you select, click to open either the Modify a Local TM dialog or the Modify a Remote TM dialog, then complete the appropriate information to rename, write-protect, or change the priority of a TM for the project. Refer to Connect to a Remote Glossary.

    Remove TM

    Click to remove the selected TM from the project list.

  5. (Optional) On the Analysis Options panel, select the method for bilingual source file creation from the Create TXLF files drop-down list, such as InDesign or MS Word files.
  6. For Analyze without TM, select the appropriate languages from the Source Languages and Target Languages drop-down list.
      Note:

    The options are not available for TXLF source files, or for non-TXLF source files when you also select a TM.

  7. (Optional) Complete Pretranslation Options.
    1. Select Pretranslate, then set the baseline match percentage for the TM leverage with the type of match from the drop-down list.

      Item

      Action

      Copy Source (clears existing target)

      When there is no matching target content, select to insert source content in its place.

      Copy Tags (clears existing target)

      When there is no matching target content, select to insert source tags in its place.

      Primary MT (if available, clears existing target)

      Select to leverage machine translation (MT) matches for all segments that do not have a TM match.

      If you have TM matches, but do not select the TM before you click Analyze, the MT overwrites all target segments.

      Maintain existing target (if present)

      When there is existing target content, retain it. Otherwise, insert source content in its place.

      Clear existing target content

      Overwrite target content with source content.

    2. Select any of the following actions:

      Item

      Action

      Lock leveraged 100% matches

      Write-protect all leveraged matches that are 100% matches.

      Lock leveraged context matches

      Write-protect all leveraged matches that are contextual matches.

      Ignore translated segments from report

      Do not consider target segments identified in the Analysis report.

      Ignore translated exact segments from report

      Do not consider only exact match target segments identified in the Analysis report.

  8. For the Report Settings, choose from the following actions:

    Item

    Action

    Calculate analysis report percentage by:

    Select Words or Segments as the means of calculating analysis percentages from the drop-down list.

    Calculate internal fuzzy matches

    • (Optional) Select according to the match percentage you set or select an alternate percentage.

    • (Optional) Select Include internal fuzzy matches as TM matches.

    • (Optional) Select Include whitespace in total character count. This is useful for including space counts in the character count.

    Report type

    Select a report type from the drop-down list.

    Report location

    Select one of the following actions:

    • Next to source

    • Custom location, then browse to and select an alternate location for the report on your local computer.

  9. Click Analyze Files.
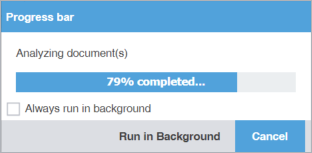
  10. (Optional) On the Progress bar dialog, you can select Always run in background to preserve the background batch action for future analysis actions, then click Run in Background.
  11. If you chose to run Analyze Files in the background, you can monitor its progress.
      Note:

    If you choose to run more than one batch action in the background, each action will have its own progress bar.

  12. After successful completion, view the report, then close the report browser window.

    The Analysis Report is saved to your computer at the specified location.