- Click the Project TM tab.
The Translation Memory and Location columns can be ordered by typing the first letter or two of the item to head the list then clicking
 or
or  to the far right. These columns can be searched by typing in a string of characters that are contained in the entry of interest. When a matching, unique string is found in an entry, only that entry is presented in the list. To restore the list, click the Clear Filters icon
  .
.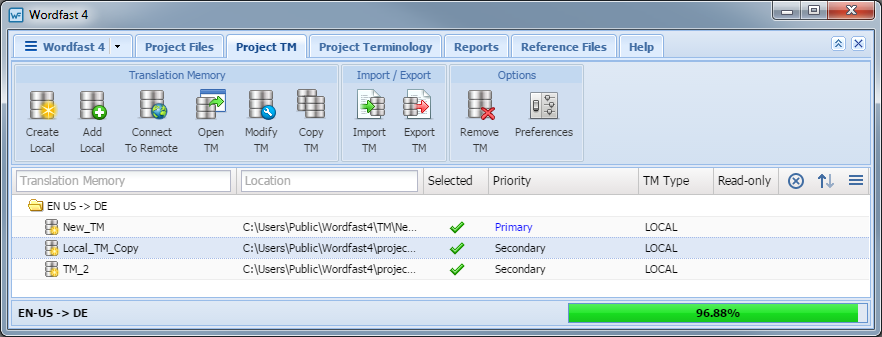
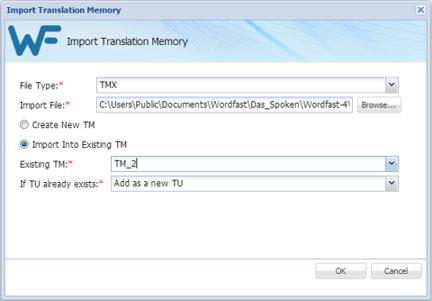
- Click Import TM.