Open Wordfast Pro and click ![]() .
.
The TXML perspective appears.
Click Edit
> Preferences > Spelling.
The Preferences (Filtered) Spelling dialog appears.
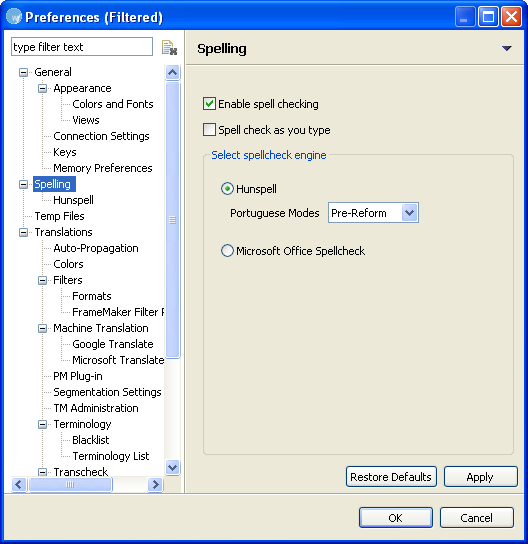
Select Enable
spell checking checkbox.
The Hunspell spellcheck engine is automatically selected.
Select Check Spelling as you type checkbox. (Optional)
If enabling spell check for Portuguese, select Portuguese Modes from the drop down list. The options are:
Pre-Reform: traditional spellings
Post-Reform: new spellings
Both: traditional and new spellings
Click OK.
The Spell check option is enabled.
Note: The option for choosing spell check languages is available
during installation.
To use spell check, click Edit > Spell Check or press F7.
The Spelling options appear. An example screenshot is given below.
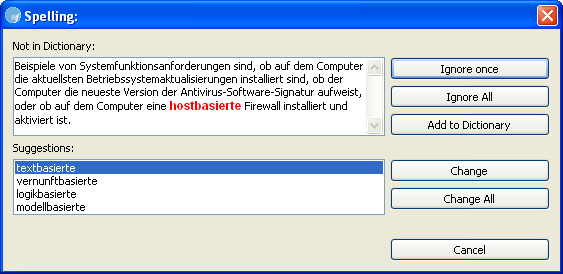
The options available are:
|
Use |
to... |
|
Ignore once |
ignore the suggestions for the highlighted word or phrase. |
|
Ignore All |
ignore the suggestions for highlighted word or phrase in the entire file. |
|
Add to Dictionary |
add the word or phrase to the dictionary. |
|
Change |
change the existing word or phrase to the selected suggestion. |
|
Change All |
change all instances of the existing word or phrase to the selected suggestion. |
|
Cancel |
cancel spell checking. |