Open a TXLF File

In Wordfast Pro, every translation begins with a project. You may bypass the typical project creation steps and create a Quick Project by either choosing to drag-and-drop TXLF files into the project list or use the Open TXLF action. You can access all features and actions available for a standard project with the following two requirements: you must use TXLF files and you cannot use the Import Package action.

  Note:

You can drag-and-drop TXLF files to a project as long as they have the same source language. You must open a new Quick Project for each new source language.

  Note:

You must save the Quick Project to retain it in the Project list. If you do not save the project, all changes you made to the original files in the submission are preserved.

To open a TXLF file:

  1. Choose one of the following actions:
    • On the Projects tab, click Open TXLF, then browse to select a file.

    • Drag-and-drop one or more TXLF files to the project list.

  2. If you used drag-and-drop, determine if you want to remember your choice on the Quick Open TXLF dialog, then choose one of three possible actions.
    1. (Optional) Select Remember this choice to use your selected option each time you choose the Quick Open TXLF action without displaying the dialog again. Use General Preferences > General to show this dialog again, after you choose to Remember this choice.
    2. Click Open in a New Project to use the standard Project Creation dialog.
    3. Click Open in Quick Project to open the TXLF file or files in TXLF Editor as a temporary Quick Project.
    4. Click Cancel to disregard the TXLF files and close the dialog.
  3. If you chose to open the Quick Project, make your edits in the TXLF Editor.
  4. (Optional) Click either Save or a Save Options action.
  5. (Optional) In the Current Project view, click Save Project to retain the project in the project list.
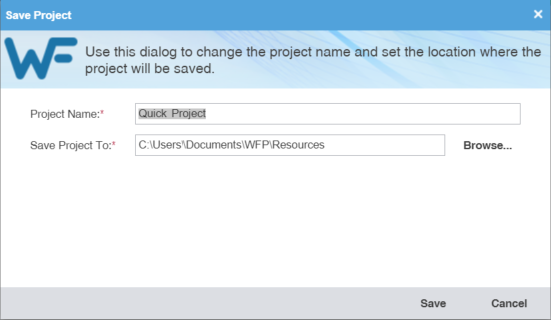
  6. In the Save Project dialog, modify the project details.

    Required fields are marked with a red asterisk.

    1. Enter the Project Name.
    2. Browse and select the file location in the Save Project To field.
    3. Click Save.