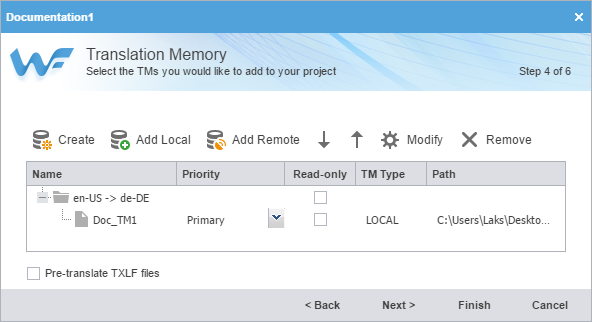
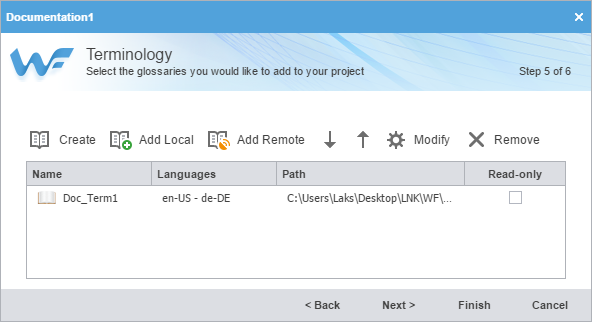
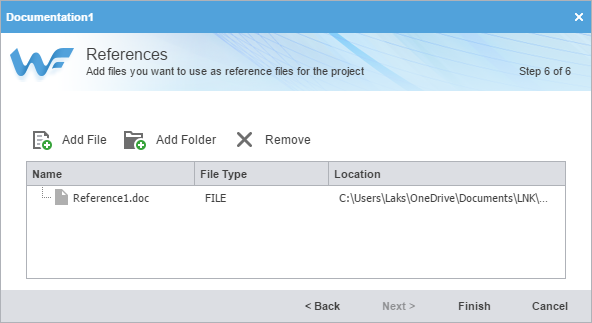
In Advanced Project Creation you have the additional options to add remote translation memories, glossaries, and reference files.
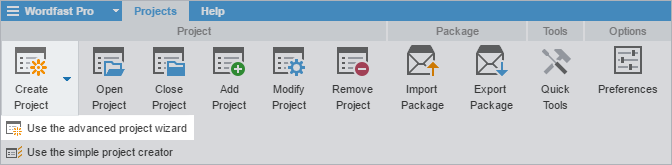
To create a project using the advanced project creation wizard:
- On the Projects tab, click .
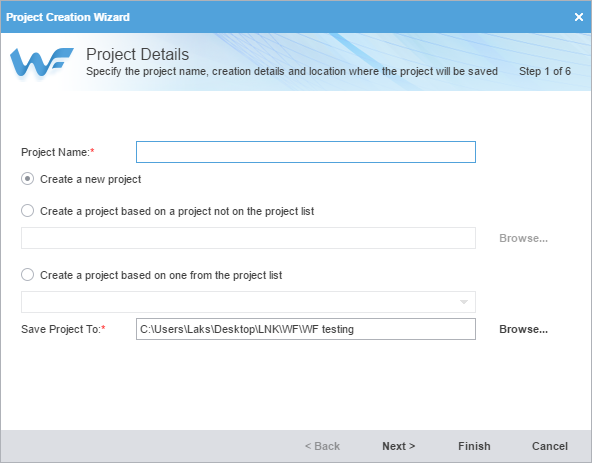
- Click Next.
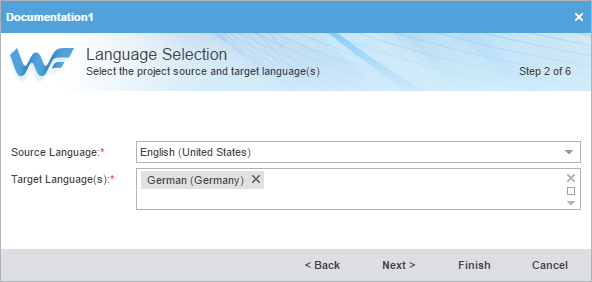
- Select the Source Language and Target Language(s) from the drop-down list and click Next.
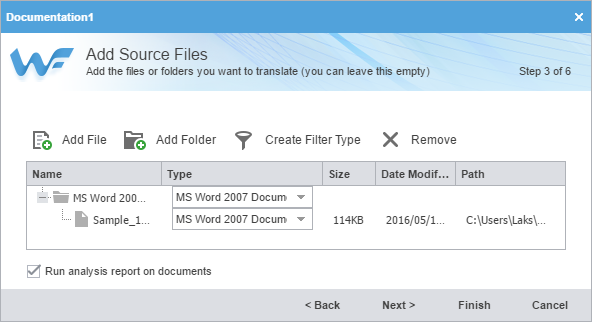
- To add files:

Note: To copy source files into the Source File folder within the Project folder on your computer, select the Copy Source Files into Source Folder checkbox in dialog. Refer to General.
- Click Next.
- Click Next.
- Click Next.
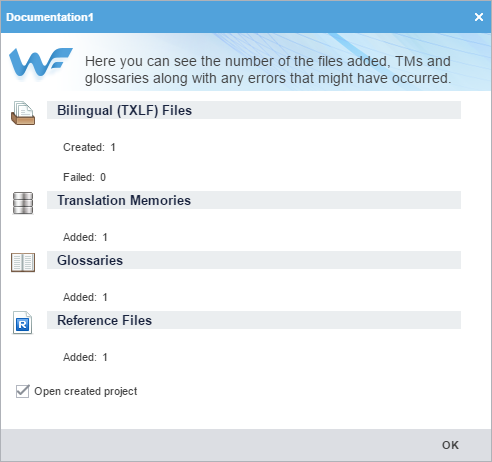
- Click Finish.