To create a project using the standard (simple) interface:
Click the Create ProjectDrop-down Symbol (downward pointing triangle) as shown below and the menu opens.
Figure 1. Create Project—Drop-down Menu
Click Use the simple project creator from the Create Project drop-down menu.
The Simple Project Creation dialog box appears.
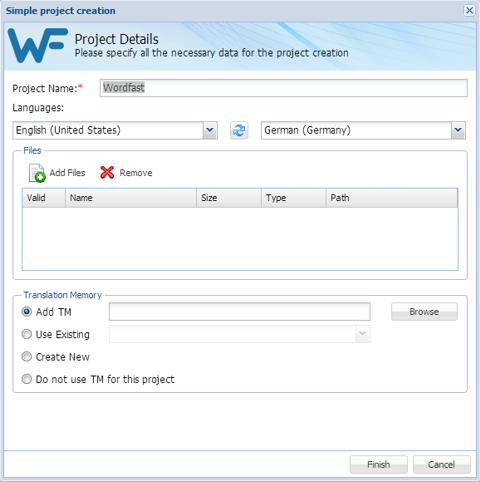
Figure 2. Simple Project Creation
Enter a project name in the Project Name field.
Select the source language from the left Languages drop-down list.
Select the target language from the right Languages drop-down list.
To browse to project files:
Click Add Files
Or, drag the file(s) from a folder into the Files list area
The selected files are listed in the Files list.
Note:
A green check-mark in the Valid column indicates the file is acceptable. A red X in the Valid column indicates that the file type is not supported by Wordfast Pro filters.
Select Translation Memory for this project using one of the following options (radio buttons):
Radio Button
Description
Add TM
Connect to an existing local Translation Memory (TM) database.
Use Existing
Connect to an existing Translation Memory database from another project.
Create New
Build a new Translation Memory database.
Do not use TM for this project
No Translation Memory is to be used for this project.
Click Finish.
Wordfast Pro analyzes the file(s), then presents the summary pop-up.